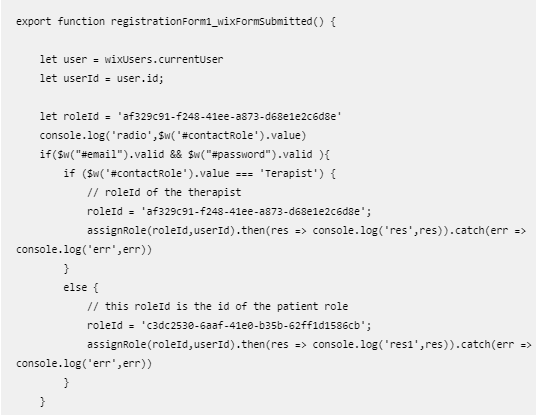
Hello, I am trying to use a custom sign-up form with a custom field this field is related in the form as a radio button that allows the user to choose between two types either doctor or patient. when the user clicks on submitting the role is assigned to the user according to the selected value
I am assigning the role in the event on wixFormSubmited. It is working but then I realized it is failing sometimes randomly. which means it registers the user without assigning any role to it could anyone help?
and here is the assign-role function
import {roles} from ‘wix-users-backend’;
export function assignRole(roleId, memberId) {
return roles.assignRole(roleId, memberId, { suppressAuth: true })
.then( () => {
console.log(“Role assigned to member”);
})
.catch((error) => {
console.log(error);
});
}
here is the code on the register page

Hello!
- First of all → do not show CODE as IMAGES → anybody has the time to retype all your code → waste of time! Please always use → CODE-BLOCKS provided by this forum…

- You do not show, which code is working at backend and which one of frontend.
Assigning a role can only be done from BACKEND.
And this is the code for it: BACKEND!
import {roles} from 'wix-users-backend';
2
3export function assignRole(roleId, memberId) {
4  return roles.assignRole(roleId, memberId, { suppressAuth: false })
5    .then( () => {
6      console.log("Role assigned to member");
7    })
8    .catch((error) => {
9      console.log(error);
10    });
11}
The assign-Role-functions expects 2-Values → roleID and memberID.
These two VALUES you have to send to your BACKEND from FRONTEND.
If you want give rights not just for the admin-account, then you set your permissions to → suppressAuth: true.
To get your own code to work, you perhaps should start to use → CONSOLE to investigate your own code. This will help you to understand your own code a little bit better.
Check this INTERACTIVE-EXAMPLE and do some testings…
https://russian-dima.wixsite.com/login-system/vnloginmgm
It will show you how all the flow could work for you (for your project).
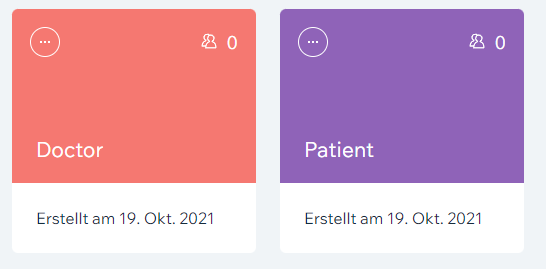
I have prepared the two roles for your example (Patient & Doctor)

Patient-ID: 1d9b2567-ea1e-4f82-be80-e4c680f4d761
Doctor-ID: b071ee80-367a-4e2f-b3dd-72d072a225be
NAVIGATE TO SETUP-SECTION to do the setup-first…
Navigate to → Role-Options and set-up the mentioned Role-IDs like shown on the following pic…
Save your new setup ang navigate back to REGISTRATION/SIGN-UP-section…
Make sure, that your new setup has been saved, by opening the dropdown to investigate the results…
If your new setted-up ROLES are included in the DropDown, then your setup was successful.
Now you can try to register a NEW-USER.
After Registration → Log-in and check if the NEW-USER was registered by the wished role…The role of a registered and logged-in user can be found on the very top of the login-window, after login.


